There is a specific kind of magic that happens when salty, briny Mediterranean staples meet the velvety smoothness of whipped dairy. This Feta and Green Olive Dip is the embodiment of that alchemy, offering a sophisticated flavor profile that looks like it belongs in a high-end Greek taverna. If you are looking for an appetizer that commands attention on a neutral countertop, this is the visual and culinary masterpiece you need.
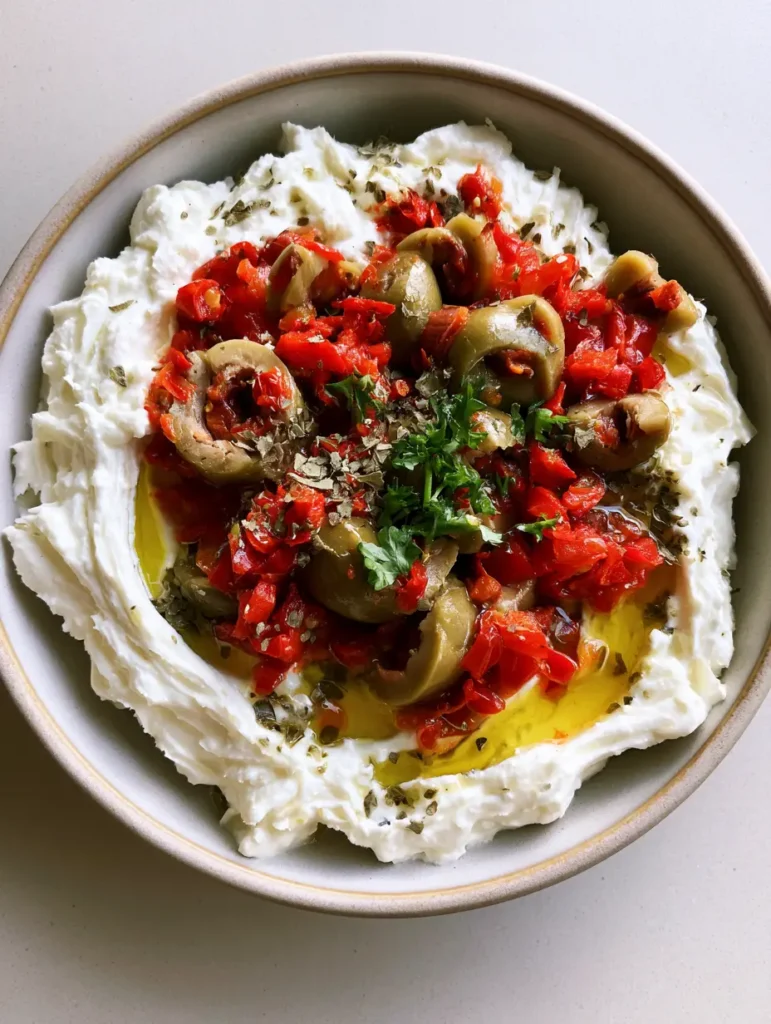
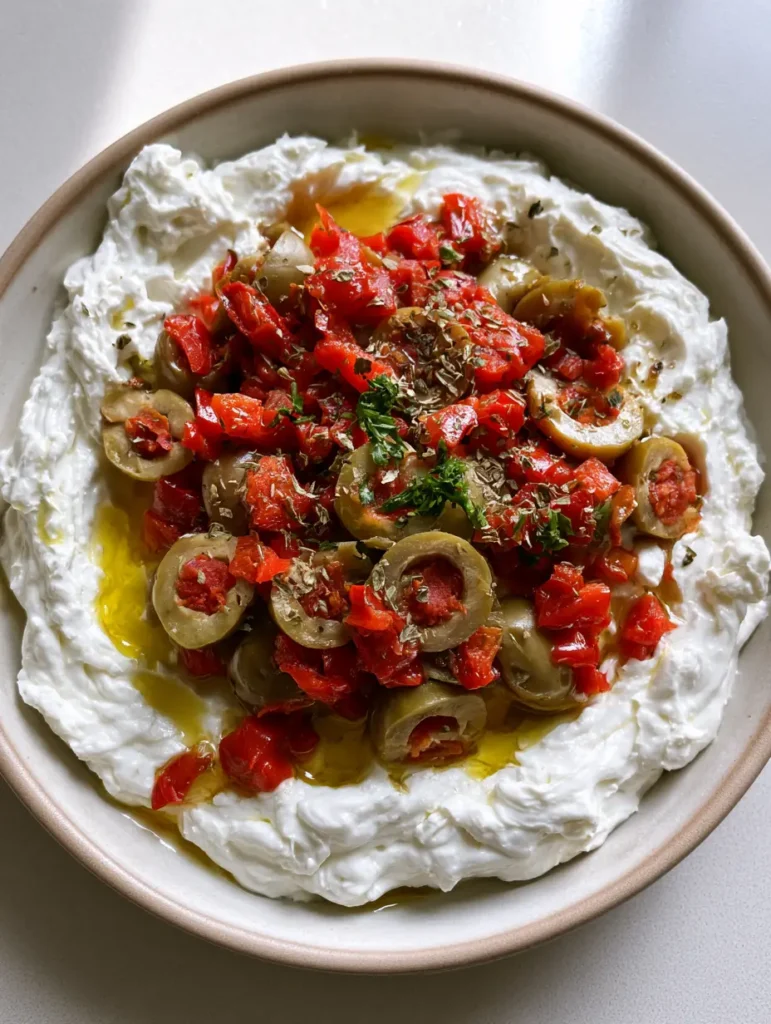
The Feta and Green Olive Dip is not just a snack; it is a textural journey designed for the modern home cook. From the thick, whipped white base of the cream cheese to the vibrant, heavy layer of sliced pimiento-stuffed olives, every bite is balanced by a pool of golden extra virgin olive oil. It captures the essence of soft natural daylight in every swirl, making it as photogenic as it is delicious.
Whether you are hosting a summer garden party or looking for a high-protein spread to elevate your weekday lunch, this dip delivers. It pairs beautifully with artisanal crackers, or you can even serve it alongside a warm cottage cheese flatbread for a satisfying, low-carb meal. Let’s dive into the science of why this combination works so perfectly.
Why This Mediterranean Whipped Spread Defines Effortless Elegance
- The Ultimate Texture Contrast: You get the airy, cloud-like sensation of whipped cream cheese paired with the firm, snappy bite of sliced green olives.
- Briny and Bright Flavor Profile: The saltiness of the feta is cut perfectly by the citrusy aromatic notes of fresh lemon zest and the sweetness of diced roasted red peppers.
- Visually Stunning Presentation: With its deep swirls and vibrant red and green toppings, this dish is a masterpiece of natural food photography.
- Versatile Pairing Potential: This dip works as a standalone appetizer, a sandwich spread, or even a topping for a Mediterranean-style steak fajita bowl.
The Anatomy of Flavor: Essential Ingredients for Your Feta and Green Olive Dip
Softened Cream Cheese: 8 oz (225g). This provides the structural integrity of the dip, acting as the thick, whipped white base that holds the heavier toppings in place.
Crumbled Feta Cheese: 1 cup (150g). The feta adds that signature Mediterranean tang and a slightly grainy texture that contrasts beautifully with the smooth cream cheese.
Pimiento-Stuffed Green Olives: 1/2 cup (75g), sliced. These provide the primary briny punch and a festive pop of color that defines the visual recipe blueprint.
Diced Roasted Red Peppers: 1/4 cup (60g). Their smoky sweetness balances the salty cheese and provides a bright red visual contrast against the white base.
Extra Virgin Olive Oil: 2 tbsp (30ml). A high-quality oil is essential for that golden pool that settles into the whipped swirls, adding a luxurious mouthfeel.
Dried Oregano Flakes: 1 tsp (1g). This earthy herb provides a foundational Mediterranean aroma that blooms when it hits the olive oil.
Fresh Parsley: 1 tbsp (4g), finely chopped. The parsley offers a necessary hit of “green” freshness that brightens the entire flavor profile.
Lemon Zest: 1 tsp (2g). The citrus oils in the zest provide an aromatic high note that prevents the dairy from feeling too heavy on the palate.
Garlic Powder: 1/2 tsp (1.5g). An “invisible” but vital ingredient that adds depth and savoriness to the whipped base without the harsh bite of raw garlic.
Professional Tools for the Perfect Whipped Consistency
To achieve the “thick, whipped white base” described in our visual blueprint, a standard bowl and spoon won’t suffice. You need a high-speed food processor or a stand mixer fitted with the paddle attachment. This equipment incorporates air into the cream cheese and feta, transforming them from dense blocks into a light, spreadable mousse.
A shallow ceramic bowl is also crucial for the final presentation. Unlike a deep dip bowl, a shallow vessel allows you to spread the base thin enough to create deep, textured swirls. This surface area is essential for holding the “heavy layer” of olives and peppers, ensuring every scoop gets an equal distribution of toppings and oil.
Mastering the Whip: A Step-by-Step Culinary Guide
Achieving the Perfect Aerated Base
Begin by ensuring your cream cheese is at room temperature; this is the most critical step for avoiding lumps. Place the 8 oz (225g) of cream cheese and 1 cup (150g) of crumbled feta into your food processor. Process on high for 2-3 minutes, stopping to scrape down the sides, until the mixture is matte-white and holds soft peaks.
As you whip, add the garlic powder and half of the lemon zest. You are looking for a sensory cue: the sound of the processor will change from a heavy thud to a light, consistent whir as the cheese aerates. This is the same technique used to create the base for a savory russian buttercream frosting, focusing on emulsification and air incorporation.
Designing the Visual Landscape
Transfer the whipped mixture to your shallow ceramic bowl. Use the back of a large spoon to create deep, intentional swirls in the surface. These “canyons” in the cheese are designed to trap the extra virgin olive oil and the smaller pieces of roasted pepper.
Slowly drizzle the 2 tbsp (30ml) of olive oil over the center, allowing it to naturally find the low points in your swirls. The oil should look like a golden pool under soft daylight. This mimics the professional “unedited” look found in high-end food photography.
The Layering of Brine and Herbs
Now, meticulously scatter the 1/2 cup (75g) of sliced pimiento-stuffed olives and 1/4 cup (60g) of diced roasted red peppers over the top. Do not stir them in! The goal is a “heavy layer” that sits proudly on the surface, showcasing the vibrant reds and greens against the white cheese.
Finally, finish the dish with a dusting of dried oregano and the finely chopped fresh parsley. The parsley should look scattered, not clumped, providing a fresh contrast to the dried herbs. Sprinkle the remaining lemon zest over the very top to release its oils just before serving.
Secrets from the Test Kitchen: Tips for Success
- The Temperature Factor: Never try to whip cold cream cheese. It will result in a grainy texture that ruins the “thick, whipped” visual effect.
- Oil Quality Matters: Since the oil is a primary topping, use a cold-pressed extra virgin olive oil with a peppery finish to complement the feta.
- Zest Before You Juice: If you decide to add a splash of lemon juice for extra tang, always zest the lemon first; it’s nearly impossible to zest a squeezed lemon.
- Salt Control: Both feta and olives are naturally high in sodium. Taste your whipped base before adding any additional salt to the recipe.
Make-Ahead, Storage, and Freshness Guidelines
This Feta and Green Olive Dip can be prepared up to 24 hours in advance, but there is a trick to keeping it fresh. Store the whipped base in an airtight container in the refrigerator, but wait to add the olives, peppers, and oil until you are ready to serve. This prevents the oil from soaking into the cheese and keeps the herbs from wilting.
If you have leftovers, they will keep for 3-4 days in the fridge. Note that the olive oil may solidify slightly when cold; simply let the dip sit at room temperature for 15 minutes before serving to return it to its luscious state. This dip does not freeze well, as the emulsion of the cream cheese will break upon thawing.
What to Serve with Your Mediterranean Masterpiece
While traditional pita chips are the standard choice, this dip is robust enough to pair with heartier options. Try it alongside Jordan Pond House popovers for a unique texture combination. The hollow, airy popover is the perfect vessel for scooping up the heavy olive and pepper topping.
For a full Mediterranean spread, serve this dip as an appetizer before a main course of creamy garlic pork chops or a light pasta dish. The acidity of the olives and lemon helps cleanse the palate between bites of richer, savory meats. It also makes a fantastic addition to a brunch board featuring crusty sourdough bread.
Common Questions About Whipped Feta Dips
You can, but green pimiento-stuffed olives provide a specific briny, acidic punch that balances the heavy dairy better than milder black olives.
You can, but the texture will be less stable. Full-fat cream cheese provides the thick, whipped white base that supports the heavy toppings without becoming runny.
The oil is meant to sit in a pool on top of the dip. If you want to mix it in, whisk it in slowly at the end, but the visual blueprint calls for it as a finishing drizzle.
Yes, all the ingredients in this Feta and Green Olive Dip are naturally gluten-free. Just ensure you serve it with gluten-free crackers or vegetables.
A block of Greek feta in brine is best. It has a higher moisture content than pre-crumbled varieties, which helps it emulsify into a smoother whipped texture.
The Ultimate Feta and Green Olive Dip Recipe
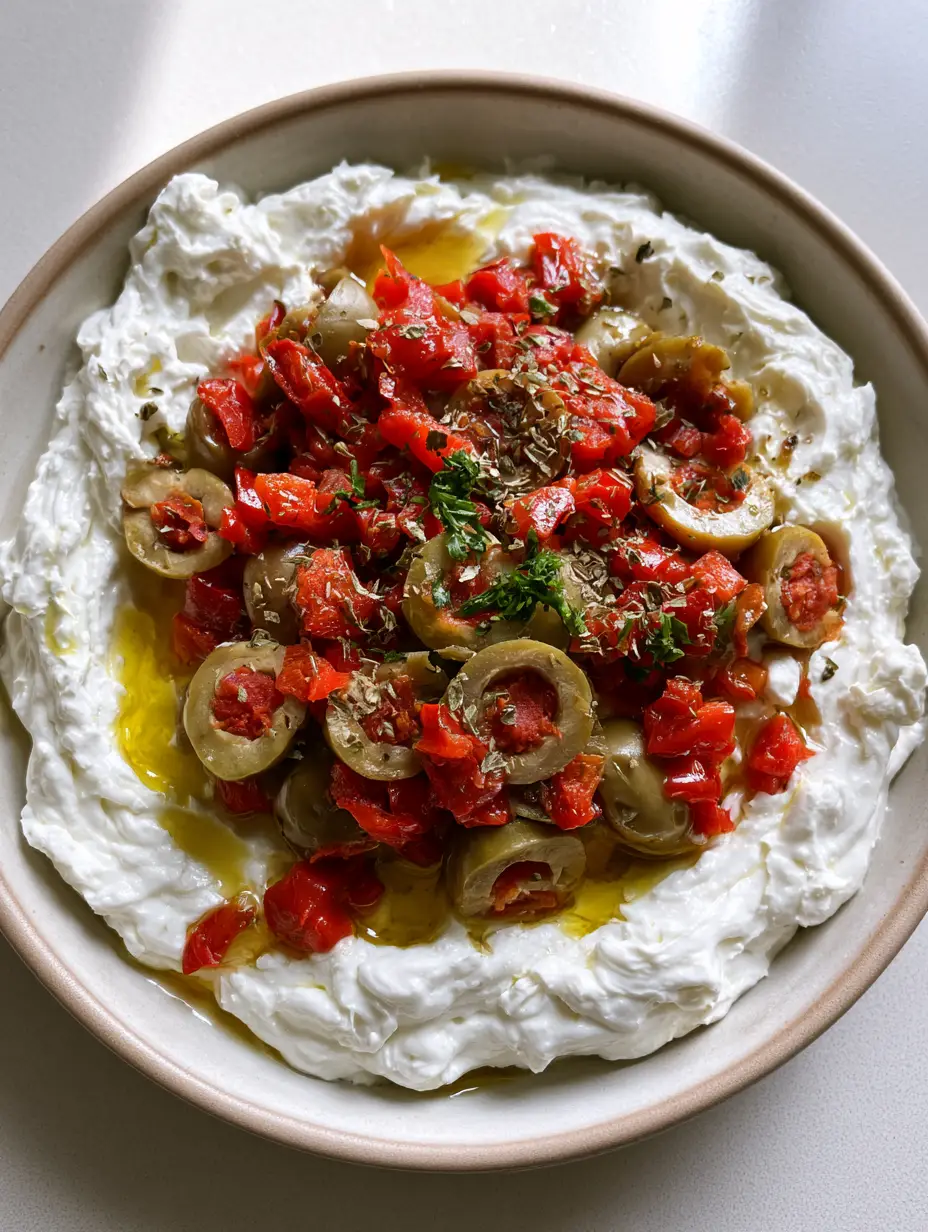
Feta and Green Olive Dip with Whipped Cream Cheese and Roasted Peppers
Ingredients
Equipment
Instructions
- In a food processor, combine the softened cream cheese, crumbled feta, and garlic powder. Process on high for 2-3 minutes until the mixture is a thick, whipped white base with a matte finish.
- Transfer the whipped cheese to a shallow ceramic bowl. Use the back of a spoon to create deep swirls and textures across the surface.
- Slowly pour the extra virgin olive oil over the dip, allowing it to pool in the textured swirls.
- Top the base with a heavy layer of sliced pimiento-stuffed green olives and diced roasted red peppers.
- Scatter the dried oregano, fresh chopped parsley, and lemon zest over the top for a vibrant finish.
Notes
Wait to add oil and toppings until just before serving for the best visual appeal.
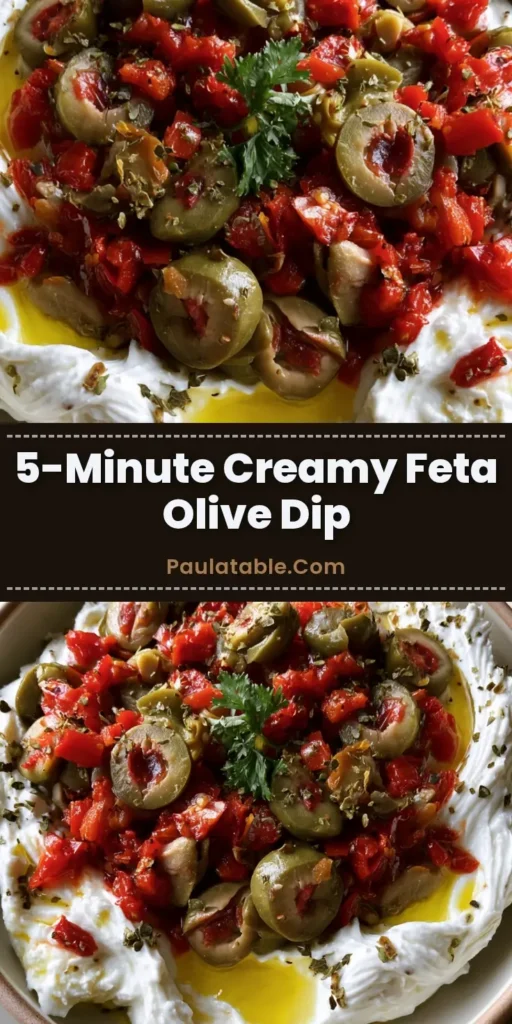
Join the Community and Share Your Creations!
We hope this Feta and Green Olive Dip becomes a staple in your entertaining repertoire. The combination of whipped textures and briny toppings is a guaranteed crowd-pleaser that looks as good as it tastes. If you enjoyed this recipe, please leave a comment below and tell us how you served it!
Don’t forget to follow us on Pinterest for more visually stunning recipe inspiration. Pin this recipe to your “Appetizer” or “Mediterranean Diet” boards so you always have it on hand for your next gathering. Happy cooking!