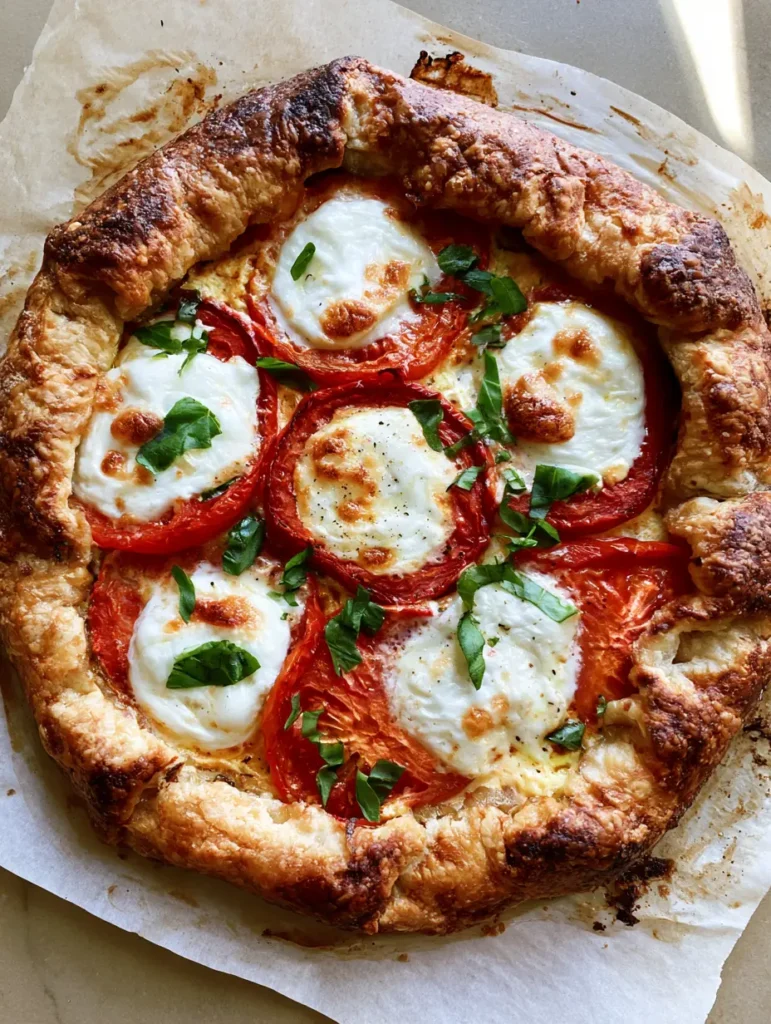
The Caprese Galette is the ultimate celebration of summer flavors, bringing together the rustic charm of a hand-folded pastry with the timeless elegance of an Italian Caprese salad. This isn’t just a simple tart; it is a carefully layered masterpiece featuring a flaky golden pastry crust that shatters upon impact, revealing a hidden layer of savory egg custard and molten cheese.
If you have ever stared at a bowl of vine-ripened tomatoes and wondered how to transform them into a centerpiece meal, this Caprese Galette is your answer. We are moving beyond the cold salad and into the realm of warm, roasted sweetness and bubbly, toasted mozzarella that captures the essence of a sun-drenched afternoon.
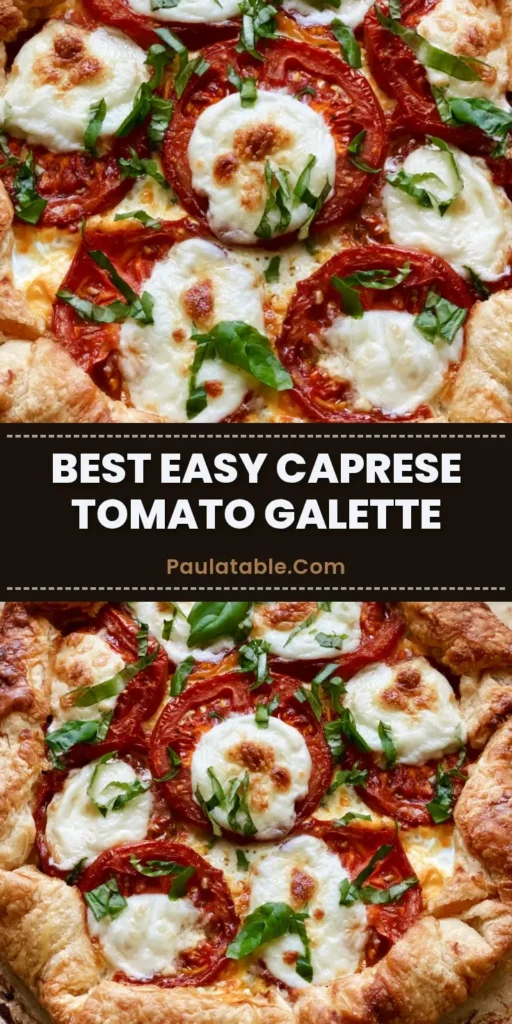
By following this guide, you will achieve the exact visual results seen in professional culinary photography: hand-crimped edges that are deeply bronzed and a center that glows with the red of roasted tomatoes and the pristine white of fresh mozzarella. This recipe is designed to be as visually stunning as it is delicious, perfect for your next brunch or a sophisticated light dinner.
Why You Will Fall in Love With This Savory Tomato Tart
- Textural Contrast: Experience the interplay between the crisp, buttery crust edges and the soft, creamy interior custard layer.
- Concentrated Flavor: Roasting the red tomatoes directly on the pastry intensifies their natural sugars, creating a jammy consistency that pairs perfectly with the salty cheese.
- Artisanal Aesthetic: The “rustic” nature of a galette means imperfection is encouraged, resulting in a beautiful, hand-crafted look every single time.
- Visual Sensory Appeal: From the scent of toasted flour to the sight of bubbling mozzarella, this dish hits every sensory cue described in our visual blueprint.
Essential Ingredients for the Ultimate Caprese Galette
All-Purpose Flour: 2 cups (250g). This provides the structural foundation for our crust, ensuring it is strong enough to hold the custard but tender enough to remain flaky.
Unsalted Butter: 1 cup (225g), chilled and cubed. High-quality, cold butter is non-negotiable for creating those signature pockets of steam that result in a “flaky golden pastry crust.”
Fresh Roma or Heirloom Tomatoes: 3-4 large (approx. 450g). Slicing these into thick rounds ensures they hold their shape during the roasting process while releasing just enough juice to mingle with the custard.
Fresh Mozzarella Rounds: 8 oz (225g). We use fresh mozzarella for its superior meltability and the way it forms those beautiful, toasted white rounds visible on the surface.
Large Eggs: 3 total. Two eggs are whisked with cream to create the savory custard base, while the third is used for the egg wash to achieve the “toasted crust edges.”
Heavy Cream: 1/4 cup (60ml). This adds the necessary richness to the custard layer, preventing it from becoming rubbery and ensuring it remains “creamy and visible beneath the cheese.”
Fresh Basil Leaves: 1/2 cup (15g), loosely packed. These are scattered at the very end to provide a pop of herbal freshness and a vibrant green visual contrast against the red and white.
Kosher Salt and Cracked Black Pepper: To taste. Salt is vital not just for flavor, but for drawing excess moisture out of the tomatoes before they hit the dough.
Pro-Grade Tools for a Rustic Hand-Folded Crust
To achieve the “hand-folded” look of a professional Caprese Galette, you will need a few specific kitchen essentials. A large, rimmed baking sheet is the stage for our galette, providing ample space for heat to circulate around the pastry edges.
High-quality parchment paper is essential for that “grease-stained” rustic aesthetic while ensuring the delicate crust does not stick to the pan. I also recommend a pastry blender or a food processor to incorporate the butter into the flour without melting it with the heat of your hands.
Lastly, a sharp mandoline or a chef’s knife is required to get perfectly even slices of tomato and mozzarella. Consistent thickness ensures that everything cooks at the same rate, preventing the cheese from burning before the tomatoes have fully roasted.
Mastering the Art of the Savory Galette: Step-by-Step
Preparing the Flaky Pastry Dough
In a large bowl, whisk together 2 cups (250g) of flour and 1 tsp (5g) of salt. Incorporate 1 cup (225g) of cold, cubed butter using a pastry cutter until the mixture resembles coarse crumbs with some pea-sized pieces of butter remaining.
Gradually add 4-6 tbsp (60-90ml) of ice-cold water, one tablespoon at a time, mixing until the dough just comes together. Shape into a flat disk, wrap in plastic, and refrigerate for at least 1 hour; this resting period is crucial for preventing the crust from shrinking.
Prepping the Star Ingredients
While the dough chills, slice your tomatoes into 1/4-inch (6mm) thick rounds. Place them on a paper towel-lined tray and sprinkle with salt; let them sit for 15 minutes to draw out excess moisture, which prevents a “soggy bottom.”
Pat the tomatoes dry with a fresh paper towel. Similarly, slice your fresh mozzarella into rounds and pat them dry if they are packed in water, ensuring the “melted rounds” stay creamy rather than watery.
Assembling the Custard and Layers
Whisk together 2 eggs, 1/4 cup (60ml) of heavy cream, and a pinch of black pepper in a small bowl. Roll out your chilled dough on a piece of parchment paper until it is roughly 12 inches (30cm) in diameter.
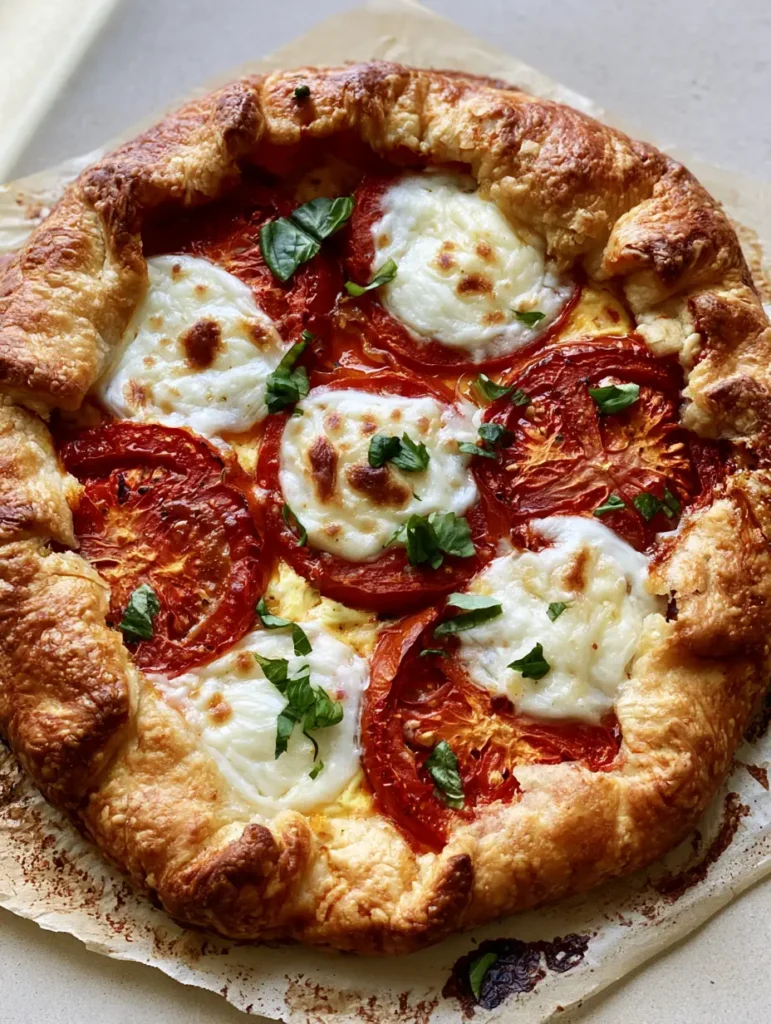
Pour the egg mixture into the center of the dough, leaving a 2-inch (5cm) border all the way around. Arrange the “roasted red tomatoes” and mozzarella rounds in an alternating, slightly overlapping pattern over the custard.
Folding and Finishing the Edges
Gently fold the edges of the dough over the filling, pleating it as you go to create the “hand-folded” look. The center should remain open, exposing the vibrant tomatoes and cheese.
Brush the exposed pastry with a beaten egg wash and sprinkle with a bit of coarse salt. This step is what guarantees those “toasted crust edges” and a “golden-brown” finish that looks like it came from a professional bakery.
Secrets for a Crisp, Never-Soggy Bottom
The biggest challenge with a Caprese Galette is the moisture from the tomatoes and fresh cheese. To combat this, always pre-salt your tomatoes as mentioned in the instructions; you will be surprised how much water they release!
Another “Forensic Expert” tip is to bake the galette on the lower third rack of your oven. This brings the bottom of the pastry closer to the heat source, ensuring the base gets fully cooked and crispy before the top cheese begins to brown too deeply.
If you find your crust isn’t as flaky as you’d like, check the temperature of your butter. If the butter melts into the flour before it hits the oven, you’ll get a crumbly, shortbread-like texture rather than the desired “flaky golden pastry crust” that shatters beautifully.
Optimal Ways to Preserve and Reheat Your Galette
This Caprese Galette is best served warm, about 10-15 minutes after it comes out of the oven. This allows the savory egg custard to set completely while the cheese remains gooey and “slightly bubbly.”
If you have leftovers, store them in an airtight container in the refrigerator for up to 3 days. To reheat, avoid the microwave as it will make the pastry soft and rubbery.
Instead, place slices in a 350°F (175°C) oven or toaster oven for 5-8 minutes. This will revive the “toasted crust edges” and bring the mozzarella back to its melted, delicious state.
Delicious Pairings to Complete Your Meal
A savory galette like this is incredibly versatile and can be served alongside a variety of dishes. For a light lunch, consider pairing it with our light lunch ideas or a simple arugula salad with a balsamic vinaigrette.
If you are serving this as part of a larger dinner spread, it complements savory main courses perfectly, acting as a sophisticated side dish. For those who enjoy a bit of crunch, serving a slice alongside some comforting pasta dishes creates a multi-textured Italian feast.
And if you’re hosting brunch, don’t forget to include some perfectly airy popovers on the table. The lightness of the popovers balances the richness of the galette’s custard and cheese layers beautifully.
Answering Your Top Savory Pastry Questions
You can, but the visual result will differ. Fresh mozzarella rounds provide the classic bubbly, toasted white look seen in our blueprint, while low-moisture mozzarella will melt more evenly and look more like a pizza topping.
Yes, you can use a high-quality store-bought refrigerated pie crust to save time. However, ensure it is fully chilled before assembly to maintain the rustic shape.
The key is to pre-salt your tomato slices for 15 minutes and pat them dry to remove excess moisture. Additionally, baking the galette on the lower third of the oven ensures the base gets direct heat.
The custard layer acts as a ‘glue’ and moisture barrier, providing a creamy texture beneath the vegetables and protecting the crust from becoming soaked by tomato juices.
Roma or Heirloom tomatoes are ideal because they have a lower water content and a meaty texture that holds up well during the high-heat roasting process.
The Ultimate Caprese Galette Recipe Card
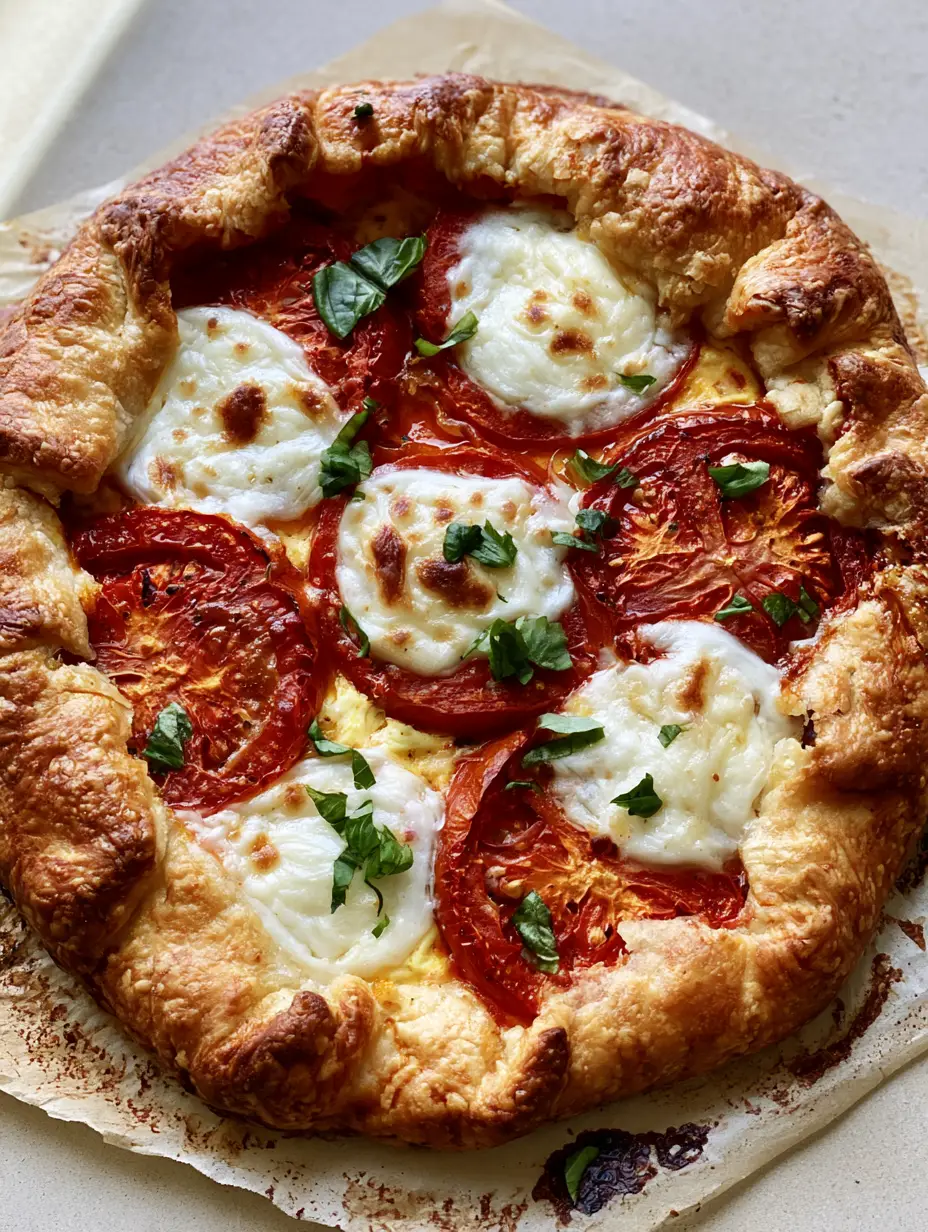
Caprese Galette with Roasted Tomatoes and Creamy Savory Custard
Ingredients
Equipment
Instructions
- Whisk flour and salt together; cut in cold butter until pea-sized crumbs form.
- Add ice water until dough holds; wrap in plastic and refrigerate for 1 hour.
- Salt tomato slices for 15 minutes to remove moisture; whisk eggs and cream for custard.
- Roll dough to 12 inches (30cm), pour custard in center, layer tomatoes and mozzarella.
- Fold edges over, brush with egg wash, and bake at 400°F (200°C) for 35-40 minutes until bubbly and golden.
Notes
Use cold butter for the flakiest crust possible.
Closing & Call to Action
Mastering the Caprese Galette is a rite of passage for any home cook looking to elevate their summer produce. With its golden-brown flaky pastry crust and the classic trio of tomato, basil, and mozzarella, it is a dish that never fails to impress.
The key to success lies in the details: the “roasted red tomatoes,” the “melted fresh mozzarella,” and that “creamy egg mixture” that ties everything together. Once you’ve tried it, you’ll see why this rustic tart is a staple in our kitchen.
Did you make this recipe? We would love to hear how your “hand-folded” edges turned out! Please leave a comment below and don’t forget to share your photos and follow us on Pinterest for more culinary inspiration.