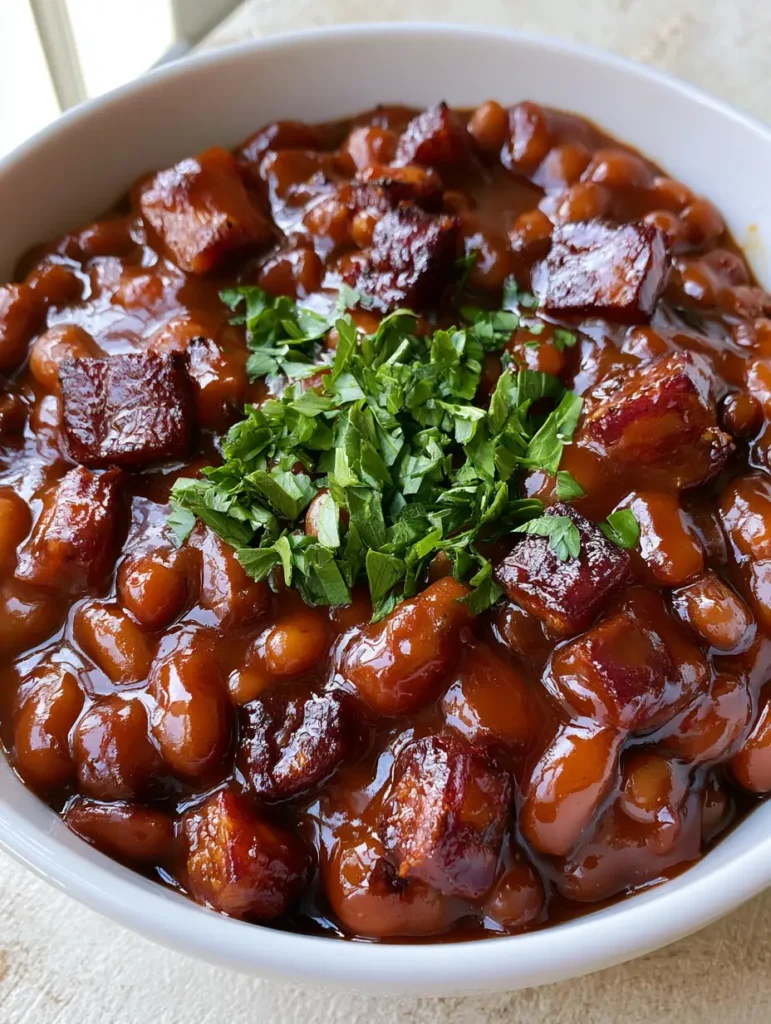
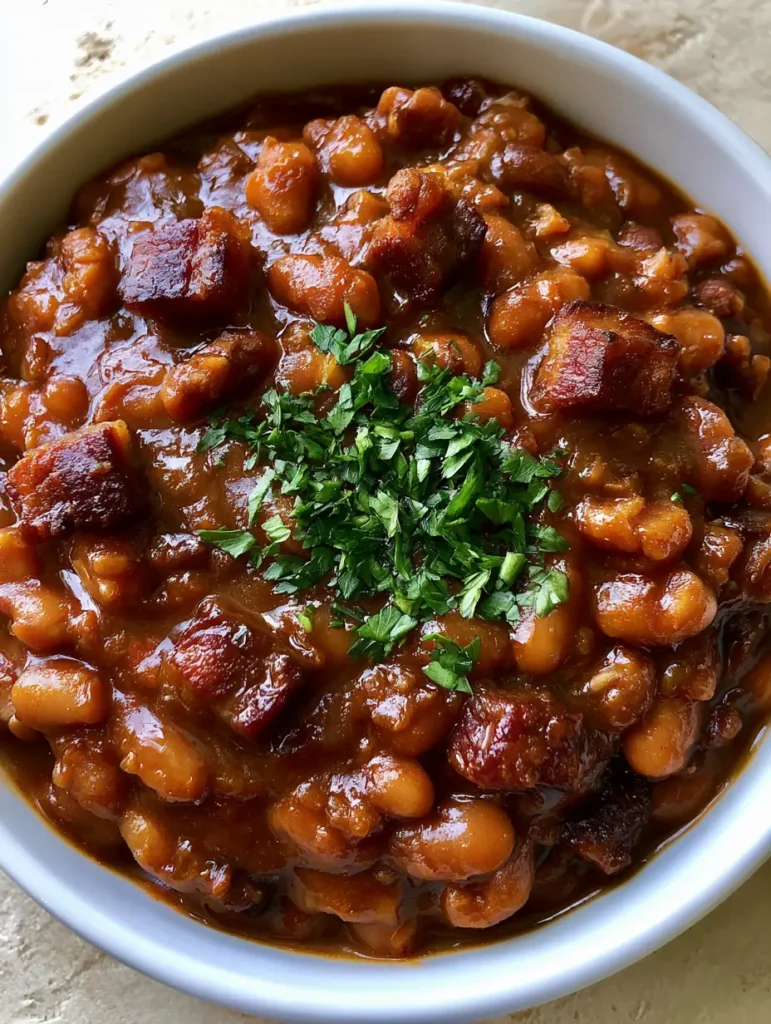
Transforming a simple tin of Canned Baked Beans into a gourmet, restaurant-quality side dish is an essential skill for every home cook. Imagine a white ceramic bowl overflowing with whole, tender navy beans, each one meticulously coated in a thick, glossy, deep amber-brown sauce. This isn’t just a side dish; it’s a culinary experience that balances smoky, sweet, and savory notes perfectly.
The secret lies in the translucent glaze and the inclusion of perfectly rendered bacon squares that offer a satisfying crunch in every bite. By following this method, you will achieve a texture and depth of flavor that far surpasses anything straight from the store-bought can. Let’s dive into how we create that signature handheld smartphone-photo-worthy sheen using professional techniques.
Whether you are hosting a summer backyard barbecue or looking for a comforting winter side, these elevated beans are the answer. The natural, soft daylight hitting the sauce reveals a rich molasses-brown hue that is as visually stunning as it is delicious. This recipe focuses on scientific simmer times and high-quality aromatics to ensure your kitchen smells like a classic smokehouse.
The Signature Appeal of Gourmet Simmered Navy Beans
- Visual Brilliance: A thick, molasses-brown sauce that is slightly translucent, providing a high-gloss finish that catches the light beautifully.
- Textural Contrast: Whole, tender navy beans paired with square-cut pieces of crispy, salty bacon for a multi-dimensional mouthfeel.
- Flavor Depth: A complex profile built on dark molasses, brown sugar, and aromatic onions, far exceeding the flat sweetness of standard canned varieties.
- Fresh Finish: A vibrant scatter of finely chopped green parsley that cuts through the richness of the bacon and sugar.
The Essential Pantry Staples for Rich, Smoky Beans
Canned Navy Beans: You will need 2 cans (15oz / 425g each) of plain navy beans or “great northern” beans. These provide the structural foundation, staying whole and tender throughout the simmering process without turning into mush.
Thick-Cut Bacon: 4 strips (approx. 150g) of thick-cut bacon are essential for those distinct square-cut pieces. The fat rendered from the bacon serves as the cooking medium for your aromatics, layering smoky pork flavor into every bean.
Dark Molasses: 2 tbsp (30ml) of dark molasses provides that critical deep amber-brown color and a robust, slightly bitter sweetness. This is the key to achieving the translucent, glossy sauce described in our visual blueprint.
Brown Sugar: 1/4 cup (50g) of packed light or dark brown sugar adds a caramelized sweetness. It works in tandem with the molasses to create a syrupy consistency that clings to the beans.
Yellow Onion: 1/2 medium onion (approx. 75g), finely diced, provides the foundational savory notes. As it sautés in bacon fat, it softens and eventually melts into the sauce, adding body and “umami” without changing the texture.
Apple Cider Vinegar: 1 tbsp (15ml) is the “invisible” ingredient that balances the heavy sugar. The acidity cuts through the sweetness, brightening the overall flavor profile and preventing the dish from being cloying.
Dry Mustard Powder: 1 tsp (5g) adds a subtle heat and tang. Mustard acts as an emulsifier, helping the fats and sugars bind into a smooth, glossy glaze.
Fresh Parsley: 2 tbsp (10g) of finely chopped fresh green parsley is the final visual touch. It provides a color pop and a hint of herbal freshness that balances the rich, heavy sauce.
Professional Equipment for the Perfect Simmer
To achieve the visual result of whole beans in a thick sauce, a heavy-bottomed skillet or a medium Dutch oven is required. The heavy base ensures even heat distribution, which prevents the sugars in the molasses from scorching during the reduction phase. You will also need a sharp chef’s knife to achieve those precise bacon squares and finely chopped parsley.
A wooden spoon or silicone spatula is best for stirring gently. We want to avoid breaking the delicate skins of the navy beans, as keeping them “whole and tender” is a key requirement of the visual prompt. Finally, a white ceramic bowl will provide the best contrast for the deep amber sauce when serving.
A Step-by-Step Masterclass in Achieving the Perfect Glaze
Prepping the Bacon Squares
Start by slicing your cold, thick-cut bacon into uniform 1/2-inch (1.25cm) squares. Place them in a cold skillet and turn the heat to medium. This “cold start” method allows the fat to render slowly, ensuring the bacon becomes “slightly crispy” and golden-brown rather than burnt.
Once the bacon squares have reached a deep golden hue and the fat is bubbling, use a slotted spoon to remove them. Place the crispy squares on a paper towel-lined plate. Keep approximately 2 tbsp (30ml) of the rendered fat in the pan for the next step.
Sautéing the Aromatics
Add your finely diced onions to the hot bacon fat. Sauté over medium heat for about 5-7 minutes. You are looking for a visual cue: the onions should be translucent and slightly golden at the edges, but not browned. This ensures they provide sweetness without adding a burnt flavor to the Canned Baked Beans.
Constructing the Glossy Amber Sauce
Stir in the molasses, brown sugar, dry mustard, and apple cider vinegar. Whisk gently until the sugar has completely dissolved and the mixture begins to bubble. The sauce will initially look dark, but as it emulsifies with the bacon fat, it will take on that “glossy, deep amber-brown” appearance.
The Gentle Simmer
Add the drained navy beans to the skillet. Stir very gently to coat every bean in the sauce. Reduce the heat to low and simmer for 15-20 minutes. During this time, the sauce will reduce and thicken.
Look for the visual sensory cue: the sauce should be thick enough to coat the back of a spoon and appear slightly translucent when held up to the light. If the sauce becomes too thick, add 1 tbsp (15ml) of water at a time until the desired sheen is achieved.
The Final Flourish
Fold half of the crispy bacon squares back into the beans. Transfer the mixture to a white ceramic bowl. Top with the remaining bacon squares to ensure they stay “nestled on top” and maintain their crunch. Finally, scatter the finely chopped fresh green parsley across the surface for that vibrant green contrast.
Pro-Secrets for That Signature Glossy Translucent Sauce
- Temperature Control: Never let the sauce reach a rolling boil. High heat will break the emulsion and cause the sugar to crystallize, ruining the translucent look.
- The Bean Rinse: If using canned navy beans that come in a salty brine, rinse them thoroughly in a colander first. This allows you to control the salt and the exact consistency of your molasses sauce.
- Resting Period: Let the beans sit for 5 minutes before serving. This allows the starches to settle, which enhances the gloss and makes the sauce cling better to the beans.
- Fat Emulsion: Ensure the bacon fat is well-incorporated into the molasses. This fat is what creates the “sheen” and “gloss” captured in professional food photography.
Storage, Reheating, and Freezing Best Practices
These beans actually taste better the next day as the flavors continue to meld. Store any leftovers in an airtight container in the refrigerator for up to 4 days. When reheating, do so over low heat on the stovetop, adding a splash of water to loosen the sauce and restore the glossy appearance.
Freezing is possible but may slightly soften the texture of the beans. If you choose to freeze them, store in a freezer-safe bag for up to 3 months. Thaw overnight in the fridge before reheating slowly to maintain the integrity of the navy beans.
What to Serve with Elevated Canned Baked Beans
These rich, smoky beans are the perfect companion for a variety of hearty proteins. They pair exceptionally well with oven baked chicken drumsticks, where the sweetness of the beans complements the crispy, salty skin of the poultry.
For a full barbecue spread, consider serving them alongside a steak fajita bowl or even as a side for a savory garlic parmesan chicken meatloaf. If you have leftover beans, they make a surprising but delicious topping for a high-protein cottage cheese flatbread for a quick lunch.
If you’re looking for more legume inspiration, our black beans and rice with sausage (coming soon) offers a different flavor profile that is equally satisfying for busy weeknights.
Frequently Asked Questions
Yes, while navy beans are classic, Great Northern beans or even pinto beans work well. Ensure they are drained and rinsed to maintain the clarity of your sauce.
Molasses is essential for the deep amber-brown color and complex flavor. If you must substitute, use dark corn syrup or extra dark brown sugar, but the color will be lighter.
Avoid over-stirring and keep the heat low. Canned beans are already cooked, so you are only heating them through and reducing the sauce around them.
The gloss comes from a combination of sugar, molasses, and rendered bacon fat. Simmering on low heat allows these to emulsify into a translucent syrup that coats the beans perfectly.
The sauce needs time to reduce. Continue simmering on low heat without a lid; the evaporation will thicken the molasses and sugars into a heavy glaze.
The Ultimate Canned Baked Beans Recipe
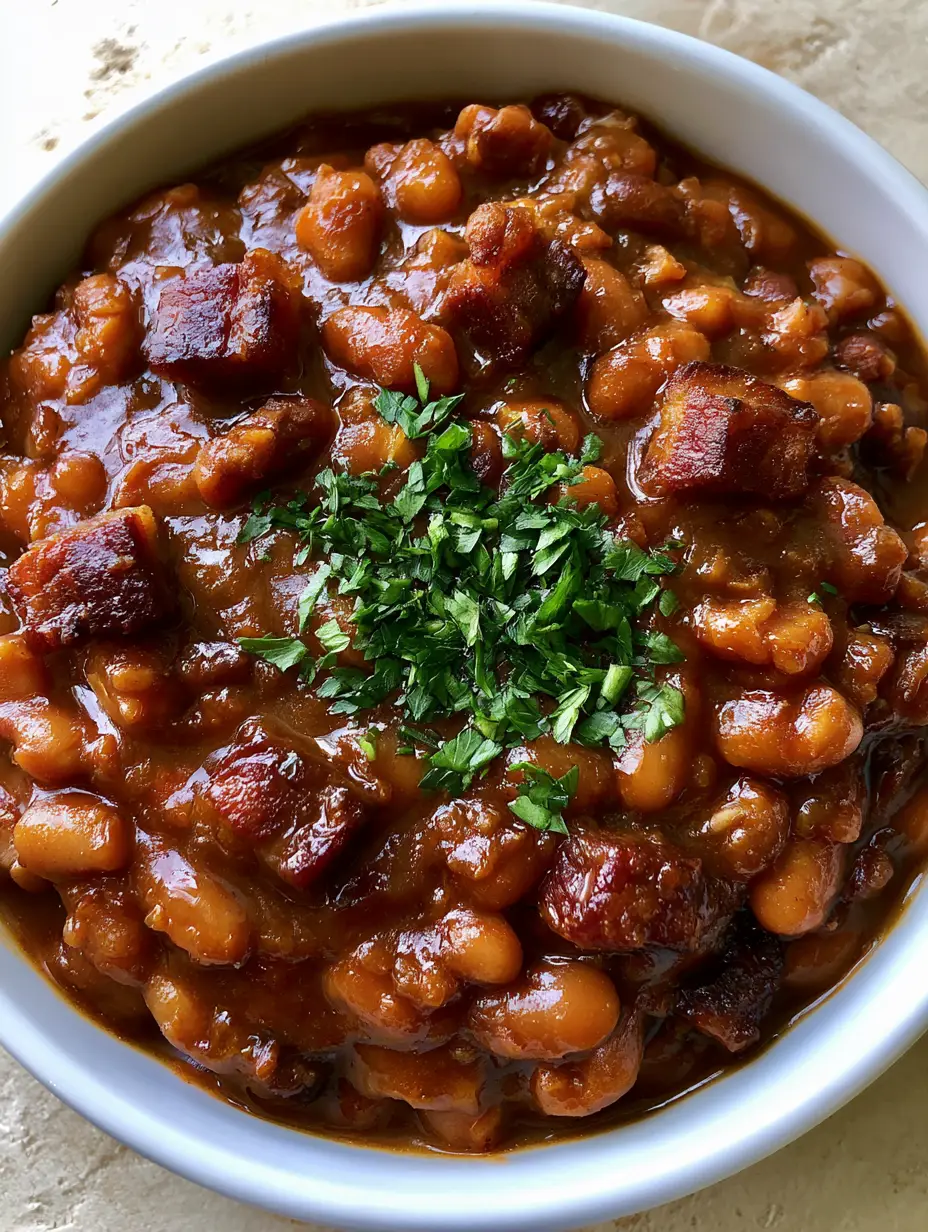
Canned Baked Beans with Smoky Bacon and Rich Molasses Glaze
Ingredients
Equipment
Instructions
- Place bacon squares in a cold skillet over medium heat. Fry until the bacon is slightly crispy and golden-brown. Remove with a slotted spoon and drain on paper towels, reserving 2 tbsp of fat.
- Add diced onions to the skillet with bacon fat. Sauté for 5-7 minutes until translucent and soft.
- Stir in molasses, brown sugar, vinegar, and mustard powder. Once bubbling, add the navy beans. Simmer on low for 15-20 minutes until the sauce is thick and translucent.
- Fold in half the bacon. Transfer to a bowl and top with remaining bacon and fresh chopped parsley.
Notes
Don't skip the vinegar; it balances the heavy sugars.
Closing and Call to Action
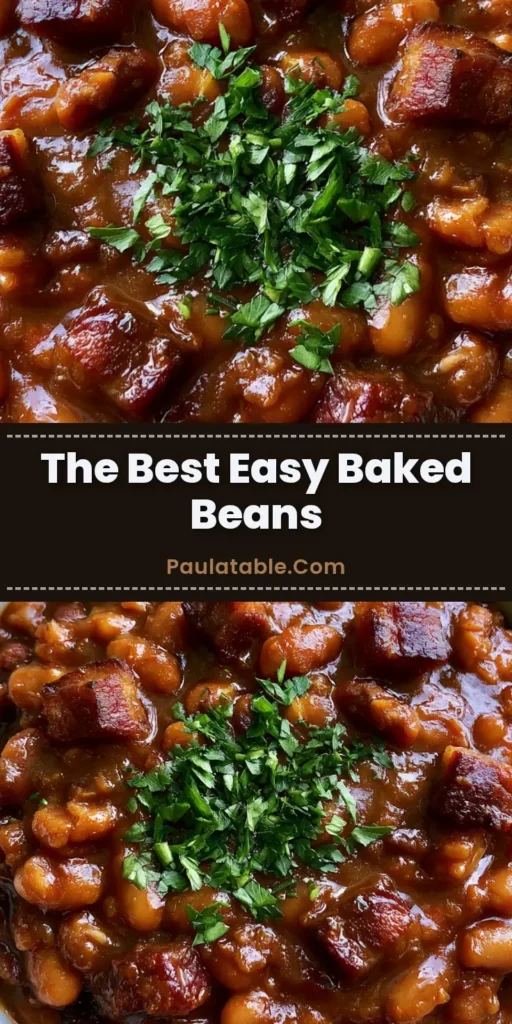
Mastering Canned Baked Beans is all about the details—from the crispy bacon squares to the translucent molasses glaze. This recipe provides a reliable way to turn a pantry staple into a show-stopping side dish that looks exactly like a professional handheld smartphone photo. The combination of sweet, smoky, and salty flavors is guaranteed to be a hit at your next gathering.
If you enjoyed this recipe, please leave a comment below and let us know how your beans turned out! Don’t forget to sign up for our newsletter for more culinary deep-dives. You can also save this recipe to your favorite boards by following us on Pinterest.