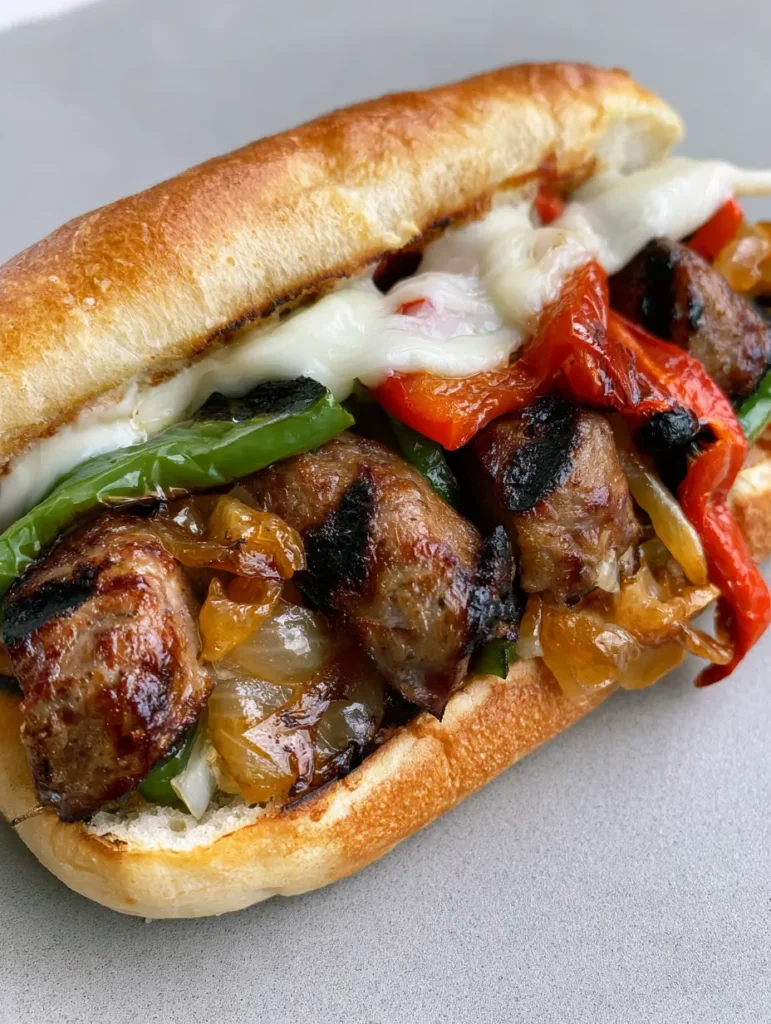
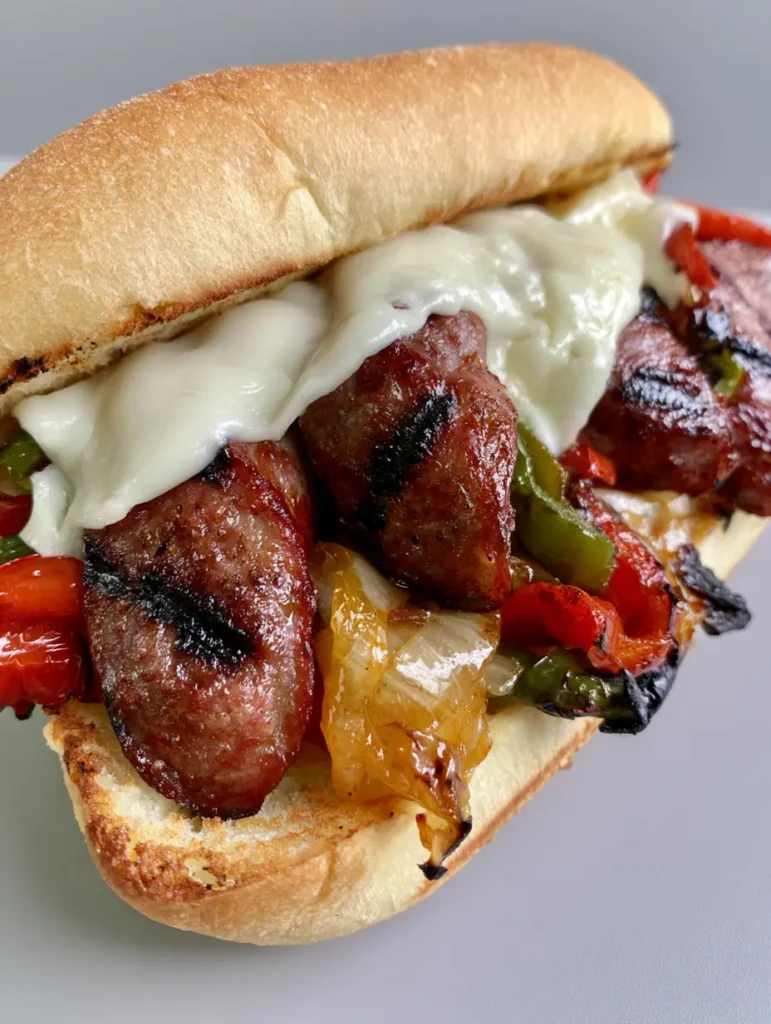
The Grilled Kielbasa Sandwich is a masterclass in texture and bold, smoky flavors. Imagine sinking your teeth into a perfectly toasted hoagie roll that shatters slightly before yielding to a layer of gooey, melted provolone cheese. Below that cheese lies the star of the show: thick, diagonal slices of beef kielbasa, seared until deep grill marks form a savory crust.
This isn’t just a quick lunch; it is a carefully constructed harmony of sweetness and char. The translucent golden caramelized onions provide a jammy richness that cuts through the saltiness of the beef. Meanwhile, the blistered red and green bell peppers add a soft, smoky crunch that only comes from high-heat contact with a grill or cast-iron surface.
Whether you are hosting a summer backyard gathering or looking for a hearty weeknight dinner that feels like a trip to a high-end deli, this sandwich delivers. The visual appeal—the vibrant colors of the peppers against the dark sear of the sausage—makes it an instant favorite for anyone who eats with their eyes first.
Why This Sausage Hoagie Recipe Outshines the Rest
- The Maillard Reaction: By using thick, diagonal slices, we maximize the surface area of the kielbasa. This allows for more caramelization and those signature dark grill marks that provide a deep, umami-rich flavor profile.
- Triple-Texture Bread: We don’t just warm the hoagie roll; we toast it with butter. This creates a golden-brown crust on the outside while maintaining a soft, pillowy interior to soak up the juices from the onions and peppers.
- The Binding Element: A generous drape of melted white provolone acts as the “culinary glue.” It binds the loose peppers and onions to the sausage, ensuring every bite contains a perfect ratio of all ingredients without them sliding out of the roll.
- Sweet and Savory Balance: The natural sugars in the sweet onions are slowly coaxed out over low heat, providing a counterpoint to the smoky, slightly spicy profile of the beef kielbasa.
The Essential Components for a Perfect Grilled Kielbasa Sandwich
To achieve the specific visual and flavor profile described in our blueprint, every ingredient must serve a structural and sensory purpose. Choosing high-quality beef kielbasa is the first step toward a superior sandwich.
Beef Kielbasa: 1 lb (450g) of high-quality beef kielbasa. Beef offers a richer, more robust flavor than pork varieties and stands up better to the intense heat of the grill, resulting in those beautiful dark sear marks.
Sweet Onions: 2 large (approx. 400g) Vidalia or Walla Walla onions. These varieties have a higher sugar content, which is essential for achieving that translucent golden color and jammy texture during the caramelization process.
Bell Peppers: 1 medium (150g) red bell pepper and 1 medium (150g) green bell pepper. We use both colors to provide a visual contrast and a balance of sweet (red) and slightly bitter (green) flavors.
Provolone Cheese: 4 to 6 slices (approx. 120g) of mild white provolone. It melts beautifully into a “draped” consistency without overpowering the smokiness of the meat, much like the cheese used in cheeseburger bombs.
Hoagie Rolls: 4 long (approx. 15cm each) hoagie or sub rolls. Look for rolls with a sturdy crust that can handle the weight of the fillings without becoming soggy.
Butter and Oil: 2 tbsp (30g) unsalted butter for toasting the rolls and 1 tbsp (15ml) neutral oil (like avocado or canola) for searing the peppers and onions to prevent sticking.
Seasoning: 1/2 tsp (3g) kosher salt and 1/4 tsp (1g) freshly cracked black pepper. These invisible but vital ingredients enhance the natural sweetness of the caramelized vegetables.
Professional Equipment for the Ultimate Sear
To recreate the handheld smartphone photo look, you need equipment that can generate and hold high heat. A cast-iron skillet or an outdoor grill is non-negotiable for achieving those blistered pepper edges.
A heavy-bottomed skillet ensures even heat distribution, which is critical when you are trying to achieve “soft, blistered red and green bell pepper strips.” If you use a thin pan, the peppers may turn mushy before they develop those beautiful charred edges.
A sharp chef’s knife is also required. To match the visual blueprint, you must cut the kielbasa on a sharp 45-degree angle. This creates the “thick, diagonal slices” that are hallmark to a professional presentation.
How to Master the Grilling and Assembly Process
Step 1: Achieving the Perfect Caramelized Onions
Start by thinly slicing your sweet onions into half-moons. In a large skillet over medium-low heat, melt 1 tbsp (15g) of butter. Add the onions and a pinch of salt to draw out moisture.
Cook the onions slowly for 15-20 minutes. You are looking for a transformation from white and opaque to translucent and golden. Do not rush this; high heat will burn the sugars rather than caramelize them.
If the onions begin to stick, add a teaspoon of water to deglaze the pan. This process ensures the “translucent golden caramelized onions” described in the visual prompt are achieved with precision.
Step 2: Blistering the Peppers and Searing the Kielbasa
Increase the heat to medium-high. Push the onions to one side of the pan or remove them temporarily. Add the neutral oil and the bell pepper strips.
Allow the peppers to sit undisturbed for 2-3 minutes until you see the skin begin to bubble and blacken slightly. Stir occasionally until they are “soft, blistered” with “charred edges.”
While the peppers finish, place your diagonal kielbasa slices directly onto the hot surface. Press down slightly to ensure maximum contact. Sear for 3 minutes per side until you see dark, defined grill marks and the fat begins to render.
Step 3: Toasting the Rolls and Melting the Cheese
Slice your hoagie rolls lengthwise, being careful not to cut all the way through. Spread the remaining butter on the cut sides and place them face-down on the grill or a separate hot pan.
Toast until the edges are a deep golden-brown. This structural step prevents the bread from absorbing too much moisture from the peppers and onions, keeping the sandwich handheld-ready.
Once toasted, layer the hot kielbasa, onions, and peppers inside the roll. Immediately place the provolone slices over the top. The residual heat from the grilled meat will drape the cheese over the fillings, binding them together.
Expert Tips for a Picture-Perfect Sandwich
- Don’t Overcrowd the Pan: If you add too many peppers at once, they will steam instead of blister. Cook in batches if necessary to maintain high heat and achieve those charred edges.
- The Angle Matters: Always slice the kielbasa on a steep diagonal. This increases the surface area for the grill marks and makes the sandwich look more abundant and professional.
- Cheese Placement: Place the cheese on the hot fillings while they are still in the pan or immediately upon assembly. If the cheese isn’t melting fast enough, a quick 30 seconds under a broiler will achieve that perfect “draped” look.
- Dry Your Peppers: Before adding peppers to the pan, ensure they are completely dry after washing. Excess water prevents the oil from blistering the skins properly.
Storage and Reheating Advice
This Grilled Kielbasa Sandwich is best enjoyed immediately while the bread is crisp and the cheese is molten. However, if you have leftovers, store the meat and vegetable mixture separately from the bread in an airtight container for up to 3 days.
To reheat, sauté the kielbasa and vegetable mix in a pan over medium heat until warmed through. Re-toast a fresh hoagie roll and add new cheese to maintain the integrity of the sandwich. Avoid microwaving the assembled sandwich, as the bread will become rubbery.
What to Serve With This Hearty Sausage Sandwich
Because this sandwich is rich and smoky, it pairs beautifully with sides that offer a bit of acidity or a different starch profile. A vinegary coleslaw or a side of pickles helps cleanse the palate between bites of savory beef and cheese.
For a more substantial meal, consider serving it alongside a portion of black beans and rice with sausage (coming soon) for a double-sausage feast. If you’re looking for something with a different flavor profile for a party spread, these steak fajita bowls share similar charred pepper notes.
If you enjoy the combination of handheld bread and melted cheese, you might also find inspiration in a spicy chipotle breakfast sandwich for your next morning meal.
Frequently Asked Questions
It is best to prep the components (grill the sausage and sauté the vegetables) ahead of time, but assemble and melt the cheese right before serving to keep the hoagie roll from getting soggy.
The key is high heat and patience. Place dry pepper strips in a hot oiled skillet and let them sit undisturbed for 2-3 minutes before stirring to allow the skins to blister and char.
Muenster or a mild white cheddar are excellent substitutes as they both have great melting properties and a flavor profile that won’t overwhelm the smoky sausage.
Beef kielbasa is highly recommended for its robust flavor and ability to develop deep grill marks without drying out as quickly as leaner pork or turkey varieties.
Slicing on a 45-degree angle increases the surface area of the meat, which allows for more caramelization (the Maillard reaction) and better contact with the heat source for visual grill marks.
The Ultimate Grilled Kielbasa Sandwich Recipe
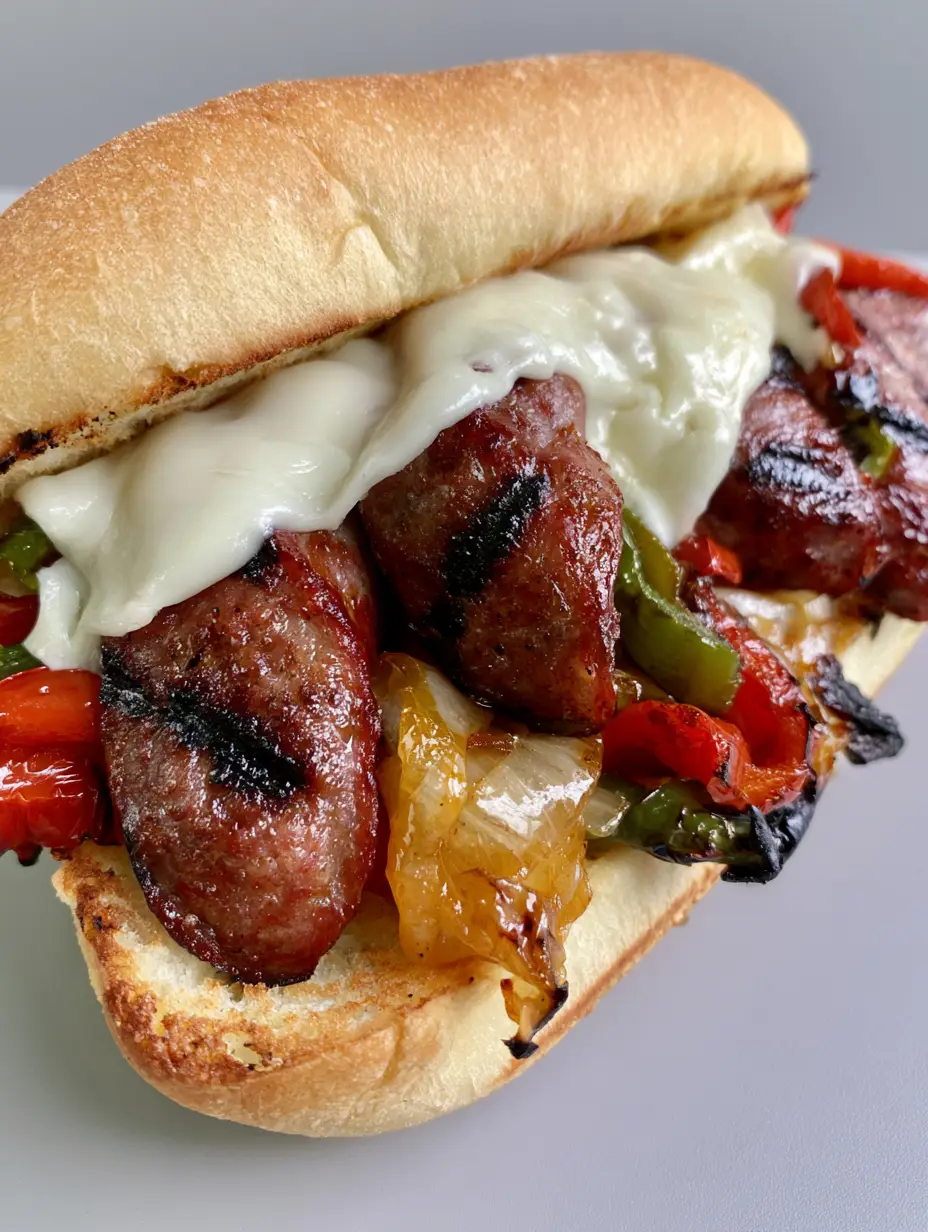
Grilled Kielbasa Sandwich with Charred Peppers and Onions
Ingredients
Equipment
Instructions
- Melt 1 tbsp butter in a skillet over medium-low heat. Add sliced onions and salt. Cook for 15-20 minutes until translucent and golden.
- Increase heat to medium-high. Add oil and peppers. Sear undisturbed for 2-3 minutes until skins blister and edges char.
- Place diagonal kielbasa slices on the hot surface. Grill for 3 minutes per side until dark grill marks appear.
- Butter the hoagie rolls and toast face-down until golden-brown and crisp.
- Fill rolls with kielbasa, onions, and peppers. Top with provolone and let the residual heat melt the cheese into a draped layer.
Notes
Don't slice the bread all the way through to keep the ingredients contained.
Closing & Call to Action
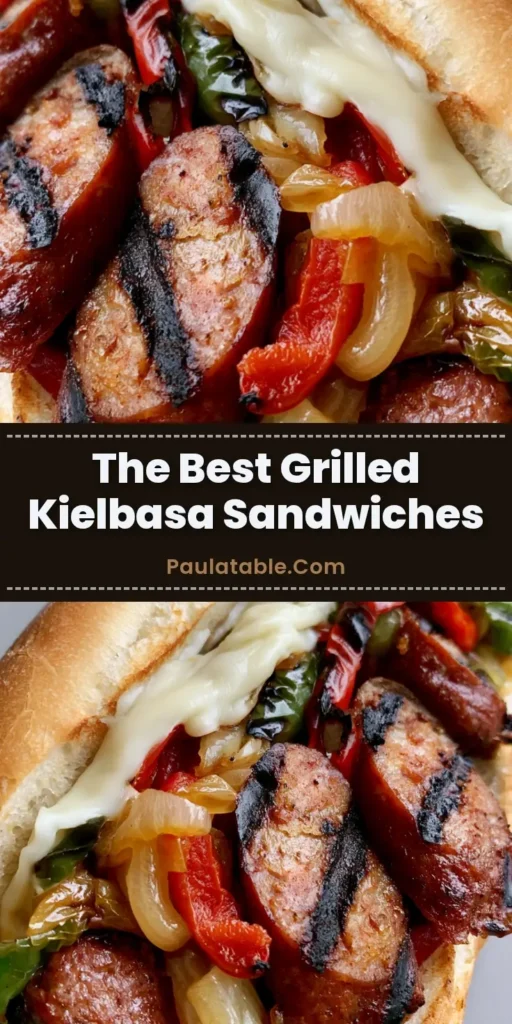
The Grilled Kielbasa Sandwich is the ultimate comfort food for those who appreciate the finer points of outdoor cooking and deli-style assembly. With its combination of charred peppers, sweet onions, and smoky beef, it satisfies every craving for a hearty, savory meal.
If you enjoyed this recipe, please leave a comment below and let us know how your char marks turned out! Don’t forget to sign up for our newsletter for more elite-level recipes delivered straight to your inbox. Please share this recipe with your friends on Pinterest so others can enjoy the perfect sausage hoagie!