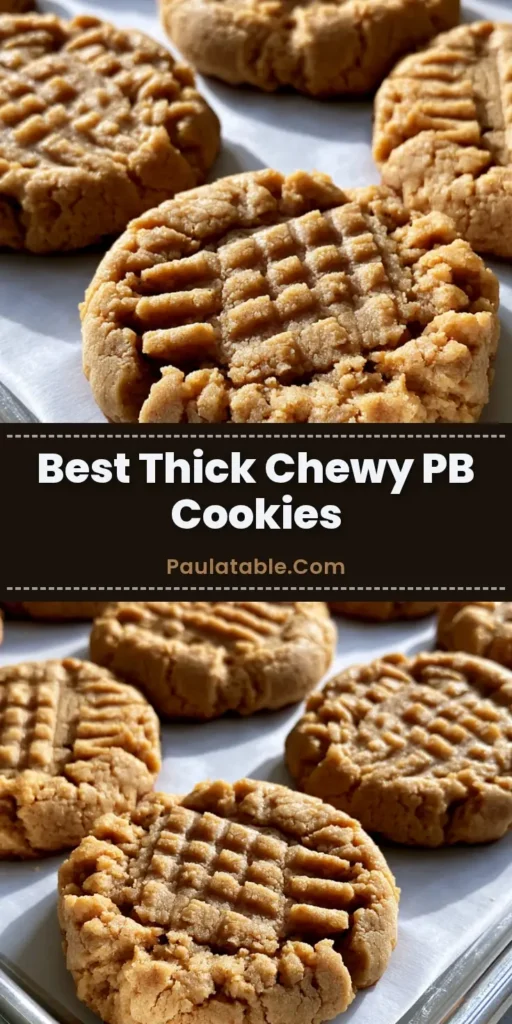
There is nothing quite as nostalgic or satisfying as a tray of perfectly baked Peanut Butter Cookies. These aren’t just any cookies; they are the gold standard of classic baking, featuring that iconic cross-hatch pattern and a texture that balances a soft, dense center with golden-brown, toasted edges. If you have been searching for a recipe that delivers a matte, cracked surface and a rich, nutty flavor, you have found it.
In this guide, we are diving deep into the science of the perfect peanut butter dough. We will explore how to achieve those deep fork impressions and ensure your cookies don’t spread into flat puddles on your silver metal baking sheet. Whether you are a seasoned baker or a beginner, these Peanut Butter Cookies will become a permanent fixture in your dessert rotation.
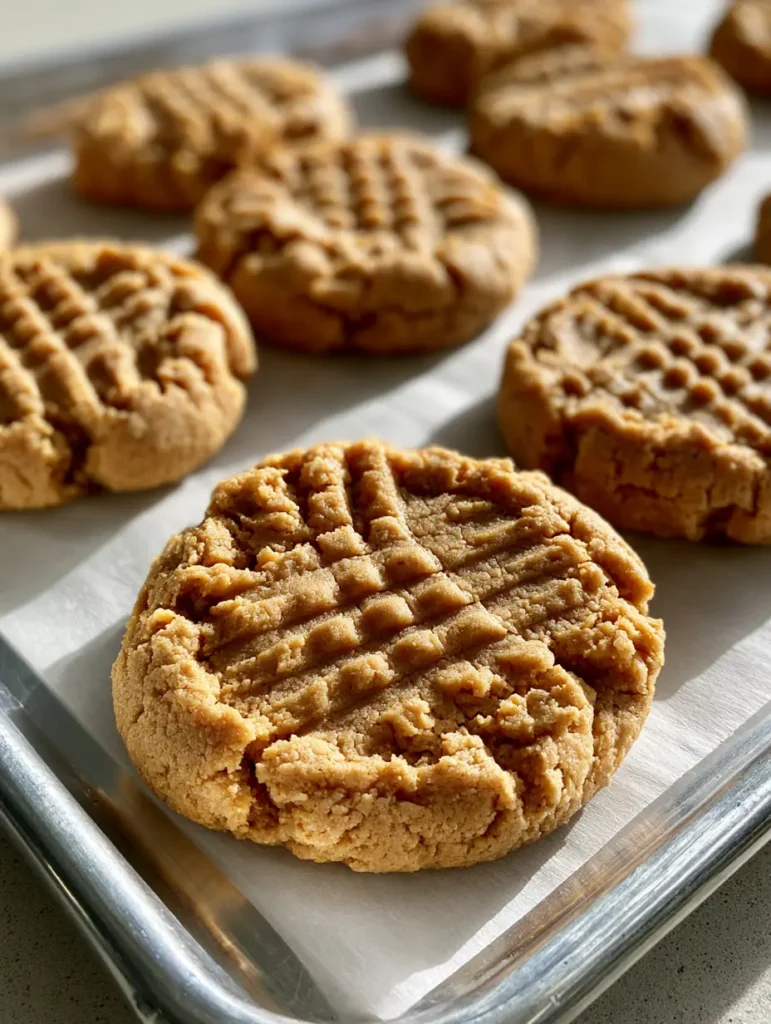
Why These Are the Best Peanut Butter Cookies You Will Ever Bake
- Perfectly Balanced Texture: Achieve a soft, dense interior with a satisfyingly crisp, golden-brown edge in every bite.
- Iconic Visuals: Learn the technique for deep, distinct cross-hatch fork impressions that look professional yet authentic.
- Reliable Structural Integrity: These cookies hold their shape beautifully on white parchment paper, resulting in thick, round discs.
- Traditional Cracked Surface: We use a specific ratio of leavening agents to create that beautiful matte, cracked aesthetic typical of old-fashioned recipes.
The Secret Architecture of Peanut Butter Cookie Ingredients
To create a recipe that looks exactly like our visual blueprint, every ingredient must serve a structural and flavor-based purpose. Here is what you will need to gather for these Peanut Butter Cookies.
Creamy Processed Peanut Butter: For that specific matte and dense texture, use a standard creamy peanut butter rather than “natural” varieties that separate. 1 cup (250g) provides the necessary fats and protein for structure.
Unsalted Butter: You will need 1/2 cup (113g) of softened butter to create a tender crumb. Butter provides the moisture that, when creamed with sugar, helps the cookies rise slightly before collapsing into those signature cracks.
Granulated White Sugar: 3/4 cup (150g) of white sugar is essential for those golden-brown toasted edges. It caramelizes at the base of the cookie, providing a slight crunch.
Packed Light Brown Sugar: 3/4 cup (150g) of brown sugar adds molasses and moisture. This is the “secret” to keeping the center of the Peanut Butter Cookies soft and dense for days.
All-Purpose Flour: 2 cups (250g) of flour provides the “skeleton” of the cookie. It ensures the dough is thick enough to hold the deep fork impressions without rebounding.
Large Egg: One room-temperature egg (approx. 50g) acts as the emulsifier. It binds the fats and sugars together, preventing the dough from becoming crumbly or oily.
Baking Soda and Baking Powder: We use 1 tsp (5g) of baking soda for browning and 1/2 tsp (2.5g) of baking powder for a slight lift. This combination ensures the “cracked surface” we are looking for.
Fine Sea Salt: 1/2 tsp (3g) of salt is non-negotiable. It cuts through the richness of the peanut butter and enhances the sweetness of the sugars.
Vanilla Extract: 1 tsp (5ml) of high-quality vanilla adds a floral aromatic layer that rounds out the savory notes of the nuts.
Essential Equipment for Professional Results
Having the right tools is just as important as the ingredients when aiming for that “smartphone photo” quality. You will need a silver metal baking sheet, which reflects heat more evenly than dark pans, preventing the bottoms from burning before the edges are toasted.
Always line your tray with white parchment paper. This provides a non-stick surface that doesn’t add extra grease (like cooking spray would), allowing the cookies to grip the surface just enough to develop their shape.
Finally, a heavy-duty wire fork is required. This is the only way to achieve those distinct, deep cross-hatch impressions that define traditional Peanut Butter Cookies.
Step-by-Step Guide to the Perfect Cross-Hatch Cookie
Step 1: The Creaming Method
In a large bowl, combine your softened butter, granulated sugar, and brown sugar. Beat them on medium-high speed for at least 3 minutes until the mixture looks pale and fluffy. This step incorporates air, which helps create the “matte, cracked surface” later on.
Step 2: Incorporating the Peanut Butter and Aromatics
Add the 1 cup (250g) of creamy peanut butter, the egg, and the vanilla extract. Beat until the mixture is completely homogenous. You should see a thick, tan paste that smells intensely of toasted nuts.
Step 3: Folding in the Dry Ingredients
Whisk together your flour, baking soda, baking powder, and salt. Slowly add this to the wet ingredients. Mix only until no white streaks of flour remain. Over-mixing will develop gluten, making your Peanut Butter Cookies tough instead of tender.
Step 4: Chilling the Dough (The Key to Thickness)
For thick, round cookies like the ones in our visual prompt, chill the dough for at least 30 minutes. This solidifies the fats, ensuring the cookies don’t spread too thin once they hit the heat of the oven.
Step 5: Porting and The Famous Cross-Hatch
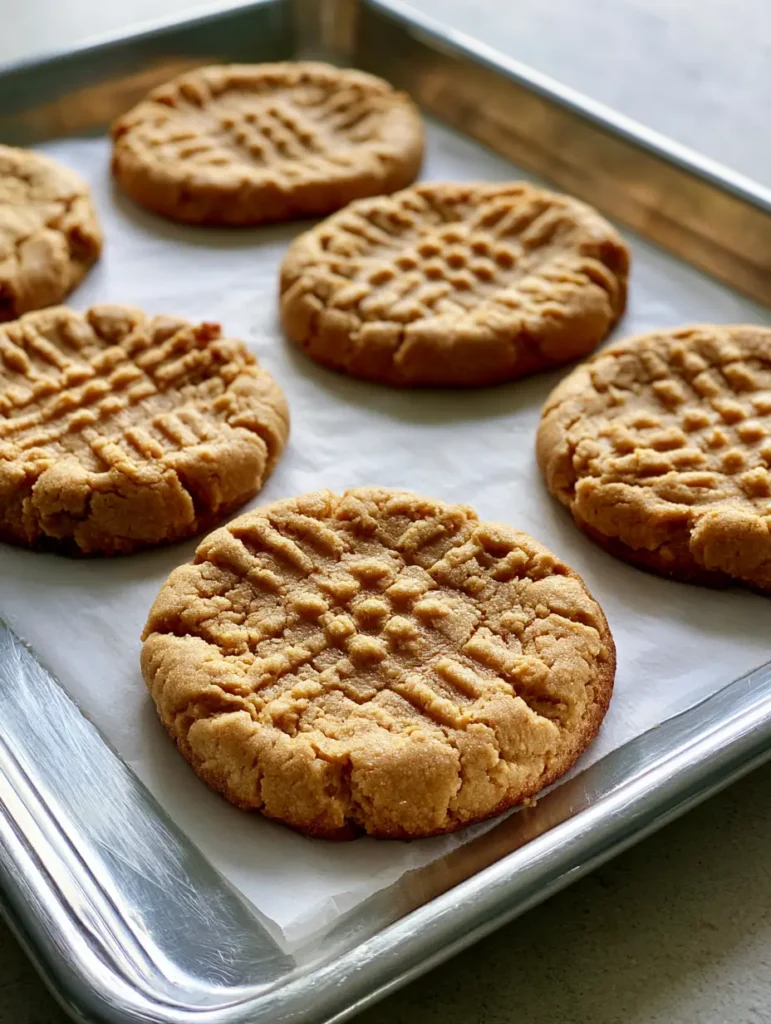
Scoop 2 tbsp (approx. 40g) of dough and roll into a smooth ball. Place them 2 inches apart on your parchment-lined silver metal baking sheet. Take a fork and press down firmly until the cookie is about 1/2 inch thick. Rotate the fork 90 degrees and press again to create the deep cross-hatch pattern.
Step 6: Baking for Visual Perfection
Bake at 350°F (175°C) for 10-12 minutes. Look for the visual cues: the edges should be a distinct golden-brown, while the tops remain matte and appear slightly underbaked. They will firm up and crack as they cool, creating that authentic aesthetic.
Expert Tips for Success
- Room Temperature is Key: Ensure your egg and butter are at room temperature to create a stable emulsion. If the butter is too cold, the dough will be lumpy.
- Sugar-Dipped Fork: If your fork is sticking to the dough while making the cross-hatch, dip the tines into a small bowl of granulated sugar between each cookie.
- Don’t Overbake: These cookies are “done” when the edges are set. If the centers look wet, that’s okay—they will carry-over cook on the hot baking sheet.
- Scale for Consistency: Use a kitchen scale to measure your dough balls. 40g per cookie ensures they all finish baking at the exact same time.
Creative Pairings and Serving Suggestions
While these Peanut Butter Cookies are a masterpiece on their own, they also pair beautifully with other homemade treats. If you love the combination of peanut butter and chocolate, try serving these alongside a rich chocolate mousse cake filling for a decadent deconstructed dessert.
For a whimsical cookie platter, you could pair these with Oreo cheesecake cookie cups or even some French almond cookies to showcase a variety of textures and nut profiles. If you find yourself with extra peanut butter frosting, consider using it on top of cookies and cream cinnamon rolls for an ultimate breakfast mashup.
Storage and Freezing Guidelines
Storage: Keep your Peanut Butter Cookies in an airtight container at room temperature for up to 5 days. Placing a slice of white bread in the container will help keep them soft by providing a source of moisture for the sugars to absorb.
Freezing the Dough: You can freeze the rolled dough balls (pre-fork-press) for up to 3 months. When ready to bake, let them thaw for 15 minutes, press with the fork, and add 2 minutes to the total baking time.
Freezing Baked Cookies: Once fully cooled, stack the cookies with parchment paper between them and freeze in a freezer-safe bag. They will stay fresh for up to 2 months.
Frequently Asked Questions
It is not recommended. Natural peanut butter often separates, which can lead to greasy cookies that spread too much. Standard creamy processed peanut butter provides the consistent fat-to-protein ratio needed for the traditional matte, cracked surface.
Yes! Chilling the dough for at least 30 minutes prevents the cookies from spreading into flat discs. It helps maintain the thick, round shape and ensures the fork impressions remain deep and distinct after baking.
The cracks come from the combination of baking soda and the creaming process. By beating the butter and sugars until fluffy, you create air pockets that expand and then collapse slightly, creating the iconic matte, cracked surface.
Dry cookies are usually the result of over-measuring the flour or over-baking. Ensure you use the ‘spoon and level’ method for flour or, better yet, use a kitchen scale (250g). Remove the cookies when the edges are just golden-brown.
Peanut butter cookie dough is much denser than standard chocolate chip dough. The cross-hatch fork marks serve to flatten the dough slightly, ensuring even baking throughout the thick center while creating more surface area for those delicious toasted edges.
The Ultimate Recipe for Traditional Peanut Butter Cookies
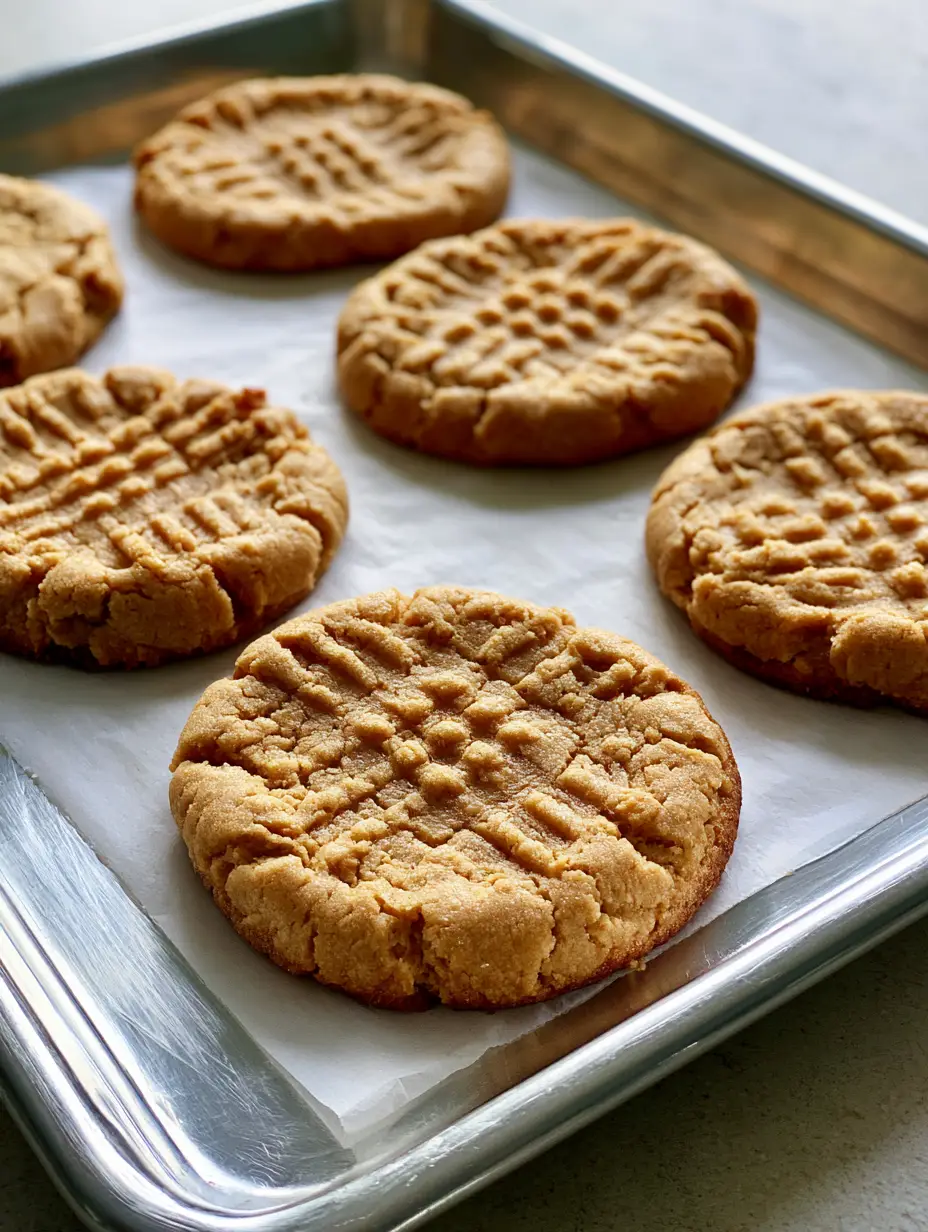
Peanut Butter Cookies: The Ultimate Traditional Soft and Chewy Recipe
Ingredients
Equipment
Instructions
- Cream the softened butter, granulated sugar, and brown sugar for 3 minutes until pale and fluffy.
- Beat in the peanut butter, egg, and vanilla extract until completely smooth and homogenous.
- Whisk dry ingredients and slowly fold into the wet mixture until no white flour streaks remain.
- Chill the dough in the refrigerator for at least 30 minutes to prevent excess spreading.
- Roll 2 tablespoons of dough into smooth balls and place on a silver metal baking sheet lined with white parchment paper.
- Press a fork firmly into the top of each ball, then rotate 90 degrees and press again to create deep cross-hatch impressions.
- Bake at 350°F (175°C) for 10-12 minutes until edges are golden-brown and the surface is matte and cracked.
Notes
Don't overbake; the cookies will firm up on the sheet.
Join the Community and Share Your Bake!
We hope these Peanut Butter Cookies bring a bit of classic warmth to your kitchen. There is something truly special about the smell of toasted peanut butter wafting through the house. If you enjoyed this recipe, please leave a comment below and let us know how yours turned out!
Don’t forget to follow us on Pinterest for more culinary inspiration. Pin this recipe to your “Baking” board so you never lose the secret to the perfect cross-hatch pattern!